Инструкция для Hyundai H-1516
 1
1 2
2 3
3 4
4 5
5 6
6 7
7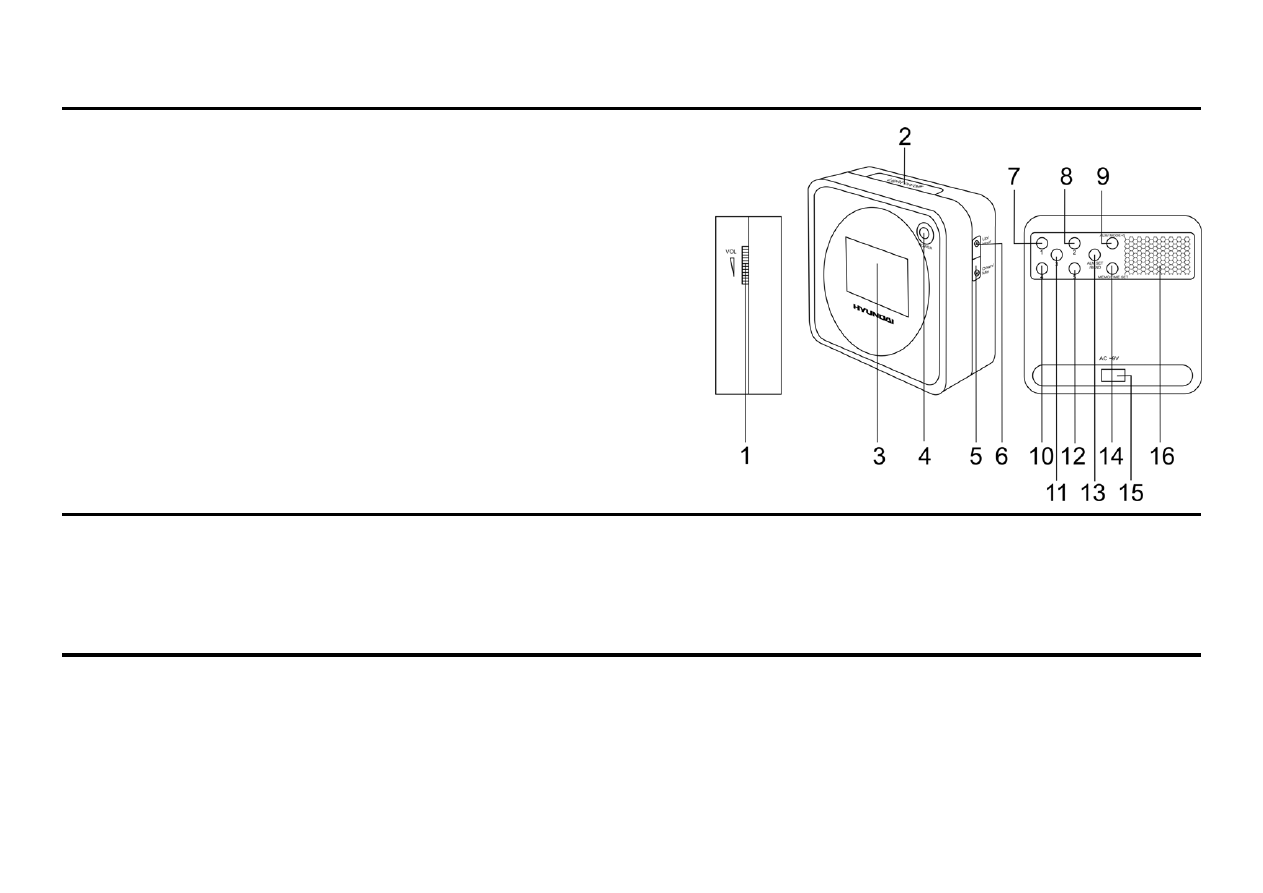
2
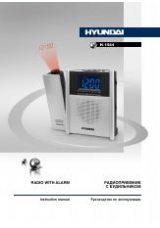
Description
1. VOLUME
regulator
2. LIGHT ON/OFF button
3. Display
4. POWER
button
5. DOWN/MIN
button
6. UP/HOUR
button
7. 4
button
8. 2
button
9. ALM/MODE +5 button
10. 1 button
11. 3 button
12. 5 button
13. ALM SET/BAND button
14. MEMO/TIME SET button
15. AC jack
16. Speaker
Important safeguards
•
Caution
: To reduce the risk of electric shock, do not remove cover (or back). Prefer servicing to qualified service personnel.
•
Dangerous voltage:
Uninsulated dangerous voltage, that may be of sufficient magnitude to constitute a risk of electrical shock to persons, is present
within this product enclosure.
•
Attention:
The owner’s manual contains important operating and maintenance instructions for your safety, it is necessary to refer the manual.
Power supply
A
С
operation
•
The appliance is for household use only.
•
Before the first connecting of the appliance check that voltage indicated on the rating label corresponds the mains voltage in your home.
•
Insert the power cord of the adaptor into the DC jack on the unit. Insert the adaptor plug into the power supply.
•
The set is now working as an electronic clock.
Оглавление инструкции
- Страница 1 из 8
H-1516 ALARM CLOCK RADIO Instruction manual РАДИОПРИЕМНИК С ЧАСАМИ Руководство по эксплуатации
- Страница 2 из 8
Description 1. 2. 3. 4. 5. 6. 7. 8. 9. 10. 11. 12. 13. 14. 15. 16. VOLUME regulator LIGHT ON/OFF button Display POWER button DOWN/MIN button UP/HOUR button 4 button 2 button ALM/MODE +5 button 1 button 3 button 5 button ALM SET/BAND button MEMO/TIME SET button AC jack Speaker Important safeguards •
- Страница 3 из 8
Setting the clock To set time • • • In standby mode, press MEMO/TIME SET button, the clock display starts blinking. Press UP/HOUR button or DOWN/MIN button to adjust the correct hour and minute. Press the MEMO/TIME SET again to store the correct time. Backlight function • Press LIGHT ON/OFF button
- Страница 4 из 8
Alarm operations Alarm time setting • • • Press ALM SET/BAND button, the clock display starts blinking. Press UP/HOUR button or DOWN/MIN button to adjust the alarm hour and minute. Press ALM SET/BAND button to store the alarm time. Alarm sound setting • • • • Press ALM/MODE +5 button you may select
- Страница 5 из 8
Описание 1. 2. 3. 4. 5. 6. 7. 8. 9. 10. 11. 12. 13. 14. 15. 16. Регулятор громкости VOLUME Кнопка LIGHT ON/OFF Дисплей Кнопка POWER Кнопка DOWN/MIN Кнопка UP/HOUR Кнопка 4 Кнопка 2 Кнопка ALM/MODE +5 Кнопка 1 Кнопка 3 Кнопка 5 Кнопка ALM SET/BAND Кнопка MEMO/TIME SET Разъем AC Динамик Меры
- Страница 6 из 8
Установка времени Для установки времени: • • • В выключенном состоянии нажмите ан кнопку MEMO/TIME SET, часы на дисплее начнут мигать. Нажимайте на кнопки UP/HOUR и DOWN/MIN, чтобы выставить соответственно часы и минуты. Нажмите на кнопку MEMO/TIME SET, чтобы сохранить настройку. Функция подсветки
- Страница 7 из 8
Работа с будильником Установка будильника • • • Нажмите на кнопку ALM SET/BAND, чтобы войти в режим установки времени для будильника. Нажимайте на кнопки UP/HOUR и DOWN/MIN, чтобы установить соответственно часы и минуты. Нажмите на кнопку ALM SET/BAND, чтобы сохранить настройку. Выбор сигнала
- Страница 8 из 8