Инструкция для Hyundai H-VC1088
 1
1 2
2 3
3 4
4 5
5 6
6 7
7 8
8 9
9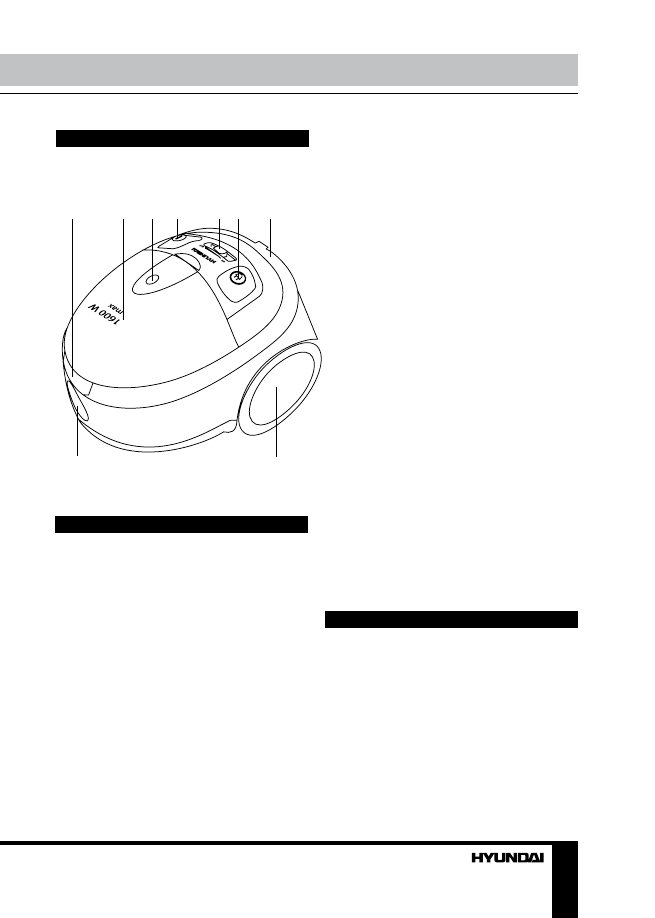
2
3
Instruction manual
Instruction manual
Description
Controllers
1
2
3
4
5 6
7
8
9
1. Dust bag compartment open button
2. Dust bag compartment
3. Dust bag fill mechanical indicator
4. Power on/off button
5. Power control switch
6. Cord rewind button
7. Handle
8. Air inlet
9. Wheel
Assembling
Always remove the plug from the power
supply before fitting or removing accessories.
Fitting flexible hose
• Insert the flexible hose into the air inlet and
turn it clockwise.
Hose removing
• To remove the flexible hose from the
vacuum cleaner, turn the flexible hose base
anti-clockwise.
Fitting telescopic tube and
accessories
• Extend the telescopic tube to the desired
length by pressing on button.
• Insert a flexible hose into the telescopic
tube.
• Fit a nozzle to the telescopic tube:
- Floor brush is intended for cleaning bare
floor and floor coverings.
- Furniture brush is for cleaning sofa, curtain
or dust on the decorating surfaces.
- Crevice nozzle - to clean corners and
between cushions.
Operation
• Before using the appliance, unwind a
sufficient length of the cord and insert the plug
into the power supply. The yellow mark on
the cord shows the ideal cord length. Do not
unwind the cord beyond the red mark.
• Press the On/Off button to switch the unit
on. To stop it press the On/Off button again.
• You can adjust the air flow using the air
flow regulator on the flexible hose:
- decrease power for cleaning curtains,
books, furniture, etc.
Оглавление инструкции
- Страница 1 из 10
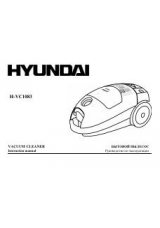
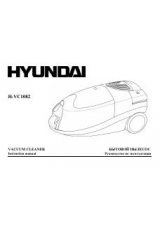
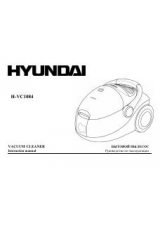
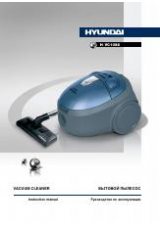
H-VC1088 VACUUM CLEANER Instruction manual БЫТОВОЙ ПЫЛЕСОС Руководство по эксплуатации
- Страница 2 из 10
Instruction manual Dear customer! Thank you for purchasing our product. For safety, it is strongly recommended to read this manual carefully before connecting, operating and/or adjusting the product and keep the manual for reference in the future. Utilization of the product If you want to dispose
- Страница 3 из 10
Instruction manual Description Controllers 1 2 3 4 5 6 8 1. Dust bag compartment open button 2. Dust bag compartment 3. Dust bag fill mechanical indicator 4. Power on/off button 5. Power control switch 6. Cord rewind button 7. Handle 8. Air inlet 9. Wheel 7 9 Assembling Always remove the plug from
- Страница 4 из 10
Instruction manual - increase power for cleaning bare floor. • You can adjust the vacuum cleaner power using the power control on body. • To rewind the cord, press the rewind button and guide the cord with hand to ensure that it does not whip causing damage. Advantages Your vacuum cleaner is
- Страница 5 из 10
Instruction manual Specifications Power supply 230 V, 50 Hz Nominal power consumption 1600 W Net/Gross weight 5.5 kg/7.0 kg Suction power 300 W Unit dimension 300 mm x 270 mm x 230 mm Gift box dimension 430 mm x 290 mm x 300 mm Specifications are subject to change without notice. Dimensions are
- Страница 6 из 10
Руководство по эксплуатации Уважаемый покупатель! Благодарим Вас за покупку нашего изделия. Чтобы понять, как правильно и безопасно пользоваться Вашей моделью изделия, рекомендуется тщательно изучить настоящее руководство перед подключением, регулировкой и эксплуатацией изделия. Сохраняйте
- Страница 7 из 10
Руководство по эксплуатации Описание Элементы управления 1 2 3 4 5 6 1. Кнопка открытия отсека пылесборника 2. Отсек пылесборника 3. Механический индикатор наполнения пылесборника 4. Кнопка включения питания 5. Регулятор мощности 6. Кнопка сматывания электрошнура 7. Ручка 8. Входное отверстие 9.
- Страница 8 из 10
Руководство по эксплуатации электрошнура, красная - максимальную длину. Никогда не вытягивайте электрошнур дальше красной отметки. • Для включения питания нажмите кнопку включения питания. Для выключения питания нажмите эту же кнопку. • На ручке гибкого шланга установлен регулятор потока воздуха, с
- Страница 9 из 10
Руководство по эксплуатации просушите фильтр перед установкой. • Не используйте пылесос без установленных фильтров, т.к. это может привести к уменьшению мощности всасывания и повреждению мотора. • Не используйте для чистки фильтров стиральную машину. Не используйте фен для сушки фильтров. Хранение
- Страница 10 из 10